
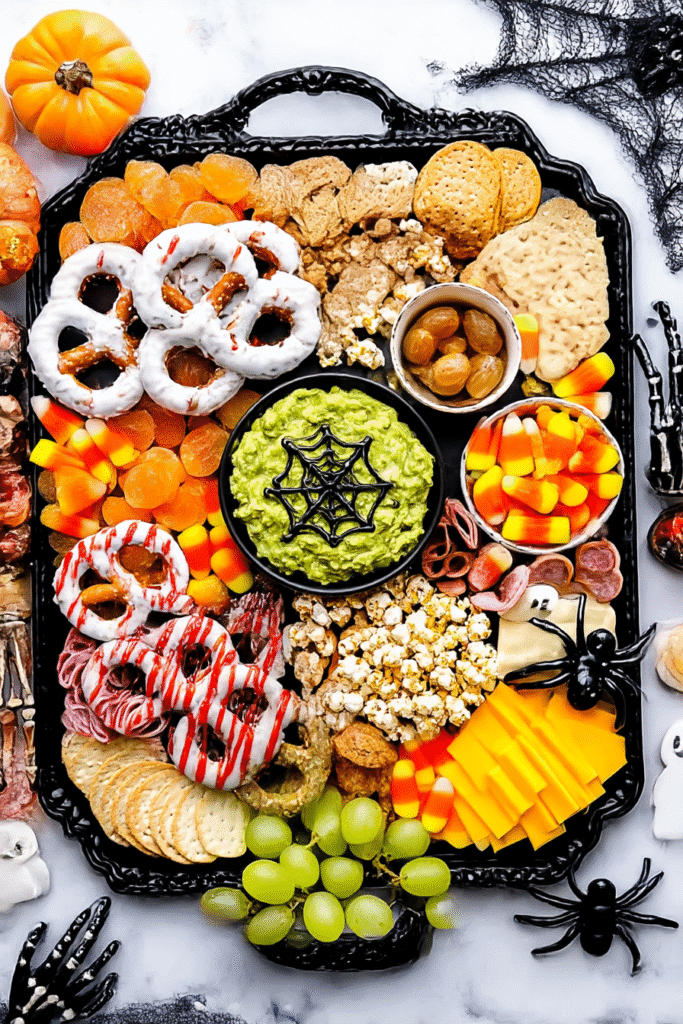
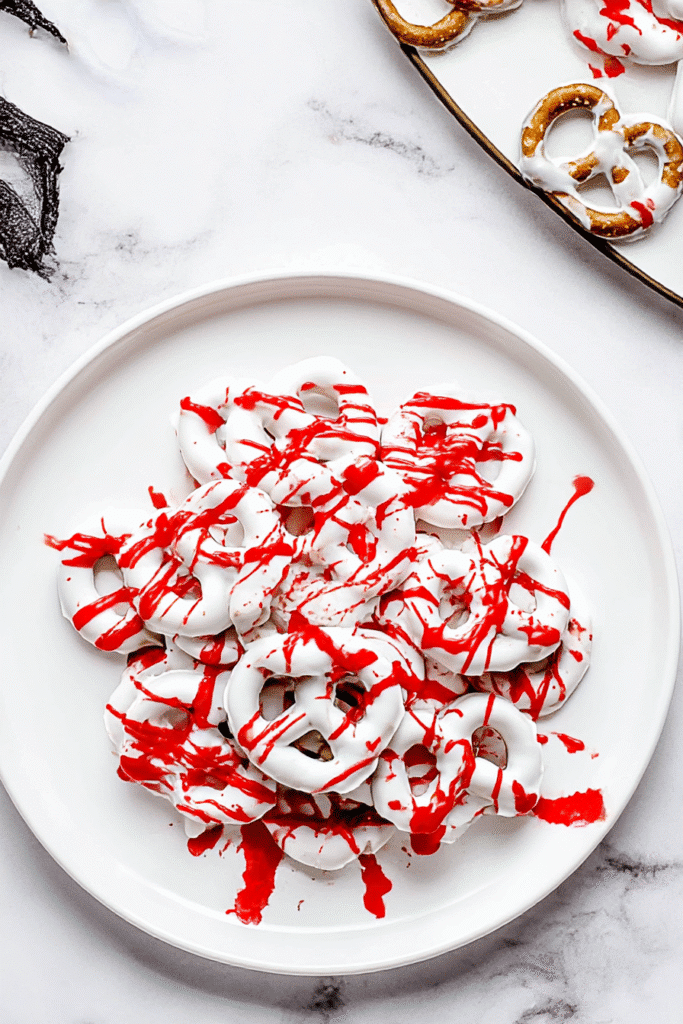
There’s something magical about the mix of sweet, salty, and spooky. Every Halloween, my kitchen turns into a candy lab, and these Halloween pretzels are always the first to vanish. Whether you’re throwing a party, stuffing treat bags, or just craving a festive snack, these are as fun to make as they are to eat.
Let me show you how this easy little treat became my go-to Halloween tradition.
Table of Contents
Spooky & Sweet: Why We Love Halloween Pretzels
This recipe started as a last-minute snack for my kid’s school party. I had pretzels, leftover candy melts, and some googly candy eyes. One quick drizzle and sprinkle later, and those tiny treats stole the show. The combo of crunch, salt, and chocolate is addictive. Plus, they look like you spent hours crafting them when really, they only take 20 minutes.
I make them now every October, right when the air gets crisp and the pumpkins pop onto porches. They’re mess-free, no-bake, and so easy to customize. And the best part? They’re totally kid-approved.
Ingredients You’ll Need
- Pretzels (mini twists, rods, or snaps all work)
- Candy melts (white, orange, black, green)
- Candy eyeballs
- Halloween sprinkles (orange, black, purple)
- Parchment paper or wax paper for setting
Creative Topping Ideas
The best part is decorating. Try:
- Candy eyes to make them spooky-cute
- Crushed Oreos for a “dirt” effect
- Orange drizzle with black sanding sugar
- Mini M&Ms or edible glitter for fun pops of color
Let your creativity (and sweet tooth) lead the way.
How to Make Halloween Pretzels
Step-by-Step Instructions
- Line a baking sheet with parchment paper
- Melt your candy melts according to package directions. If using the microwave, go in 30-second intervals and stir between each
- Dip pretzels halfway into the melted coating, or drizzle it over the top using a spoon
- Place dipped pretzels on the parchment
- Quickly decorate with sprinkles, eyes, and toppings before the coating hardens
- Let them sit at room temp or chill in the fridge until set (about 10–15 minutes)
That’s it. Seriously. You’ve got Halloween magic in a bite-sized crunch.
Mess-Free Tips
- Always use parchment so nothing sticks
- Chill your tray first if you’re in a rush
- Work in batches so the candy doesn’t harden too quickly
- Store leftover melted coating to reheat later
How to Serve and Store Them
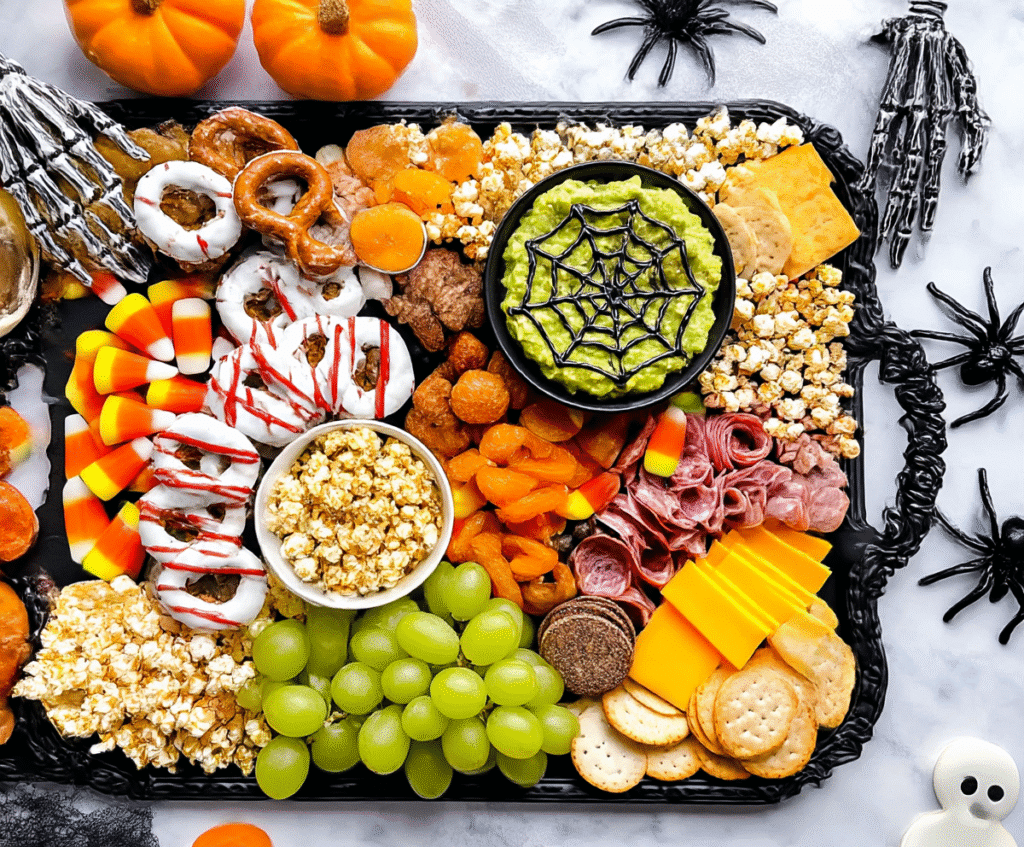
Halloween pretzels are perfect for party platters, lunchboxes, and trick-or-treat bags. I like to toss a few into cellophane bags with ribbon for instant, affordable gifts.
Store them in an airtight container for up to 7 days at room temp. But I’ll be honest, they rarely last that long.
Fun Twists You Can Try
There’s no wrong way to Halloween-ify a pretzel. Try:
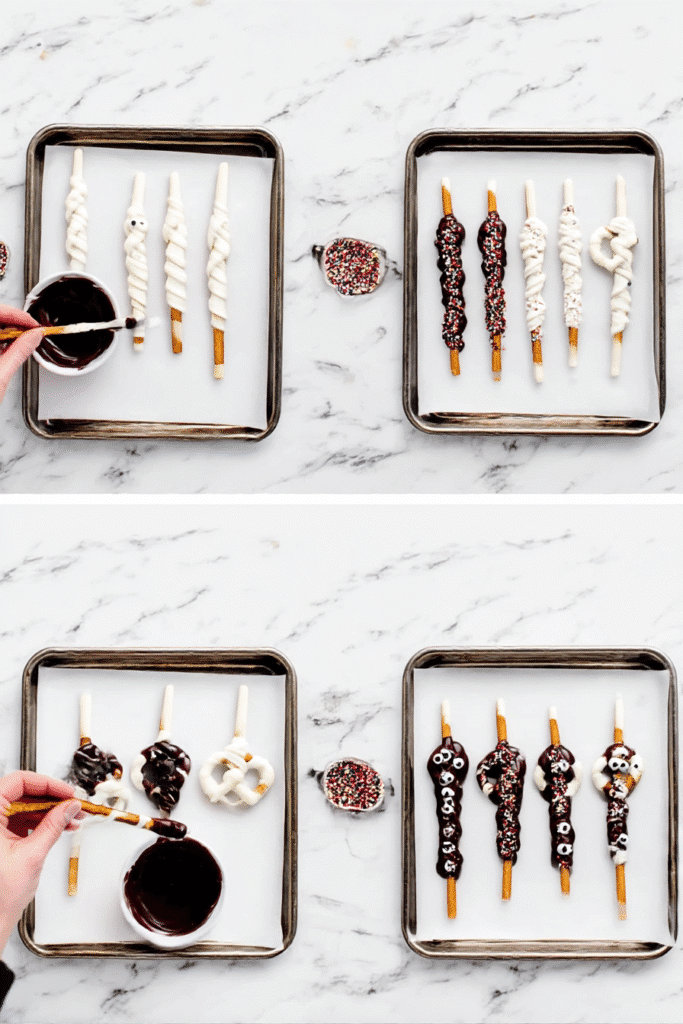
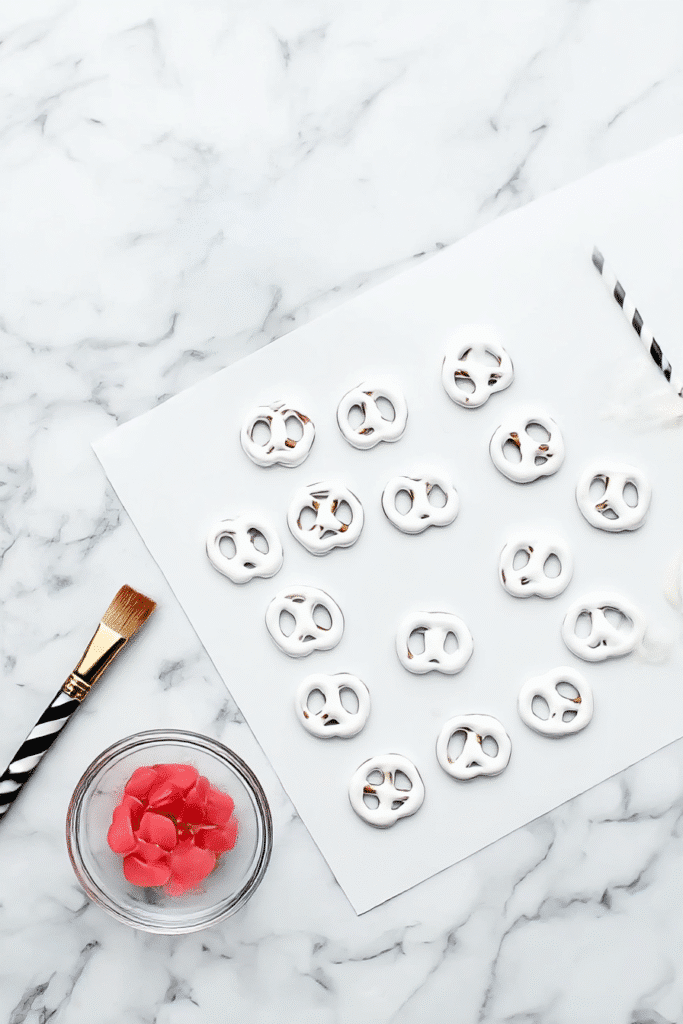
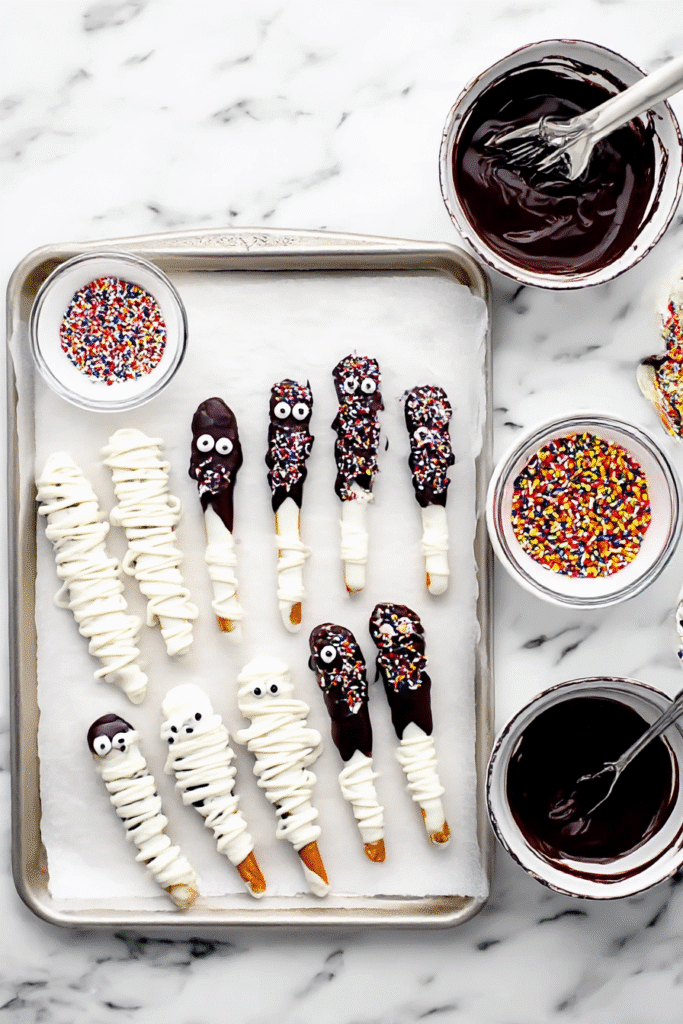
- Mummy pretzels: dip in white chocolate and use black gel for eyes
- Witch broom rods: half-dipped pretzel rods with green drizzle and orange sprinkles
- Monster mix: toss a variety into a bowl and watch them disappear at your next gathering
Let the holiday chaos inspire you. The more playful, the better.
FAQ: Halloween Pretzels Edition
Can I make them ahead of time?
Yes, and I recommend it. Make them up to 5 days in advance and store them in an airtight container.
What if I don’t have candy melts?
Use regular chocolate chips with a bit of coconut oil for shine. You can also add food coloring gel to white chocolate.
Do they work for gluten-free diets?
Absolutely. Just use gluten-free pretzels and double-check your candy toppings.
Follow us on Pinterest for more cozy ideas, or join the fun on Facebook!Halloween Pretzels That’ll Disappear Before the Candy
Ingredients
- Mini pretzels twists or rods
- Candy melts white, orange, black
- Halloween sprinkles
- Candy eyes
- Crushed Oreos optional
- Parchment paper
Instructions
- 1. Line a baking sheet with parchment paper.
- 2. Melt candy melts according to package instructions.
- 3. Dip pretzels or drizzle melted candy over them.
- 4. Add sprinkles, candy eyes, or toppings before the candy sets.
- 5. Let sit until fully hardened, about 15 minutes.
- 6. Store in an airtight container.