
Sourdough sandwich bread is more than just another homemade loaf—it’s the heart of simple, nourishing meals in my home. Whether I’m stacking it with turkey and crisp lettuce or slathering it with jam for a quick breakfast, this loaf does it all. In this article, I’ll walk you through the story behind it, the step-by-step method I swear by, and exactly how you can make your own tender, naturally leavened sandwich bread. Get ready to learn how sourdough sandwich bread becomes more than a recipe—it becomes a ritual.
Table of Contents
Sourdough Sandwich Bread Memories That Stuck
The Day My Counter Turned Into a Bakery
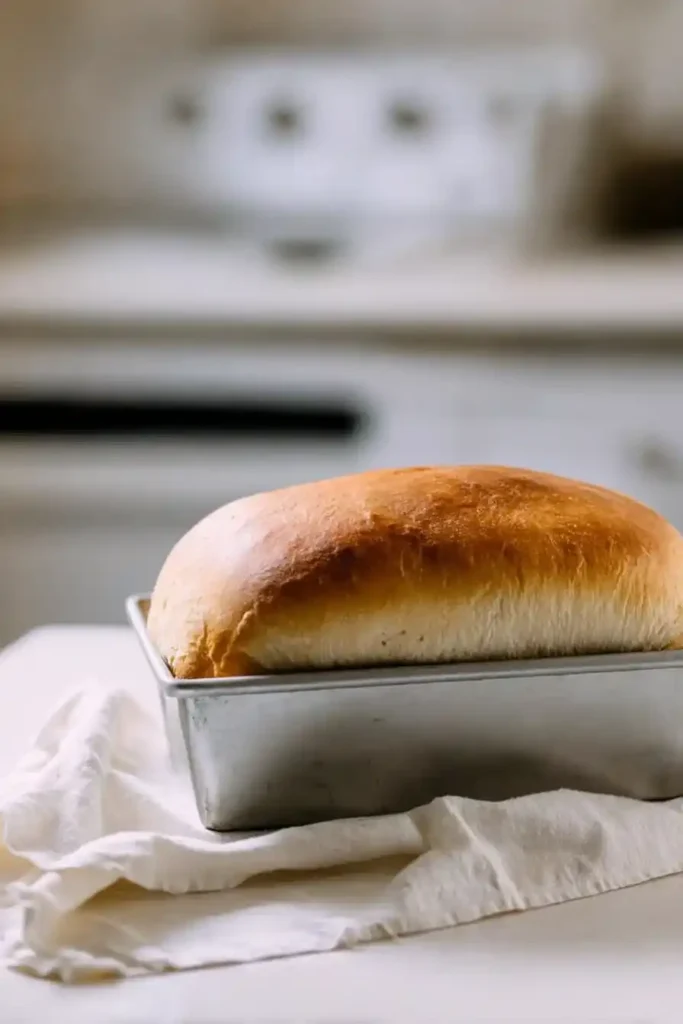
I first baked sourdough sandwich bread during a week when everything else felt messy. There was a lunchbox meltdown, a missing sock, and a whole lot of toddler negotiation. I needed comfort. Something I could slice, toast, and slather with butter while the chaos buzzed around me. That’s when this loaf was born. Not the crusty artisan kind. Something softer, gentler. Sourdough sandwich bread that was easy to mix, rose slowly during nap time, and filled the house with a smell that made everything feel okay again.
I used what I had: all-purpose flour, an active starter I’d been nurturing like a second child, and a bit of olive oil to soften the crust. I didn’t have a fancy banneton or a Dutch oven. Just a regular loaf pan and a tired oven. And it still worked.I even shared the first slice on my Facebook page and couldn’t believe how many of you had the same craving for soft, tangy sourdough sandwich bread.
The Reason I Keep Coming Back
The real beauty of sourdough sandwich bread is how flexible it is. Toast it, grill it, pack it for lunch. It’s sturdy enough for paninis, tender enough for PB&J, and absolutely ideal for a vegetable barley soup dipper on a chilly night.
It’s the kind of loaf you bake once—and then again, and again. Especially when it holds up so well in sandwiches without tearing. If you love the idea of naturally leavened bread but crave a softer crumb, this one’s for you. Even better, it’s easy to adapt. You can go gluten-free or even shape it into dinner rolls if you’re short on time and long on cravings.
From Starter to Slice: Making the Best Sourdough Sandwich Bread
The Starter Is the Secret to Great Sandwich Bread
Sourdough sandwich bread starts with one thing: a lively, bubbly starter. This isn’t just another step—it’s the engine that powers your rise and the source of the tangy flavor that makes this loaf so irresistible. If your starter has been neglected or seems sluggish, don’t expect light and airy results. Give it a few solid feedings over two days and watch it bounce back to life.
You’ll need about 100g of active starter that has doubled within 4 to 6 hours of feeding. That’s when it’s ready to go. If you’re not sure whether it’s strong enough, do the float test: drop a spoonful into water. If it floats, it’s ready. If it sinks, feed it again.
If you’re gluten-sensitive or baking for someone who is, you might love this variation: gluten-free sourdough bread. It follows many of the same fermentation principles but uses a carefully balanced blend of gluten-free flours.
Simple Ingredients, No Fuss
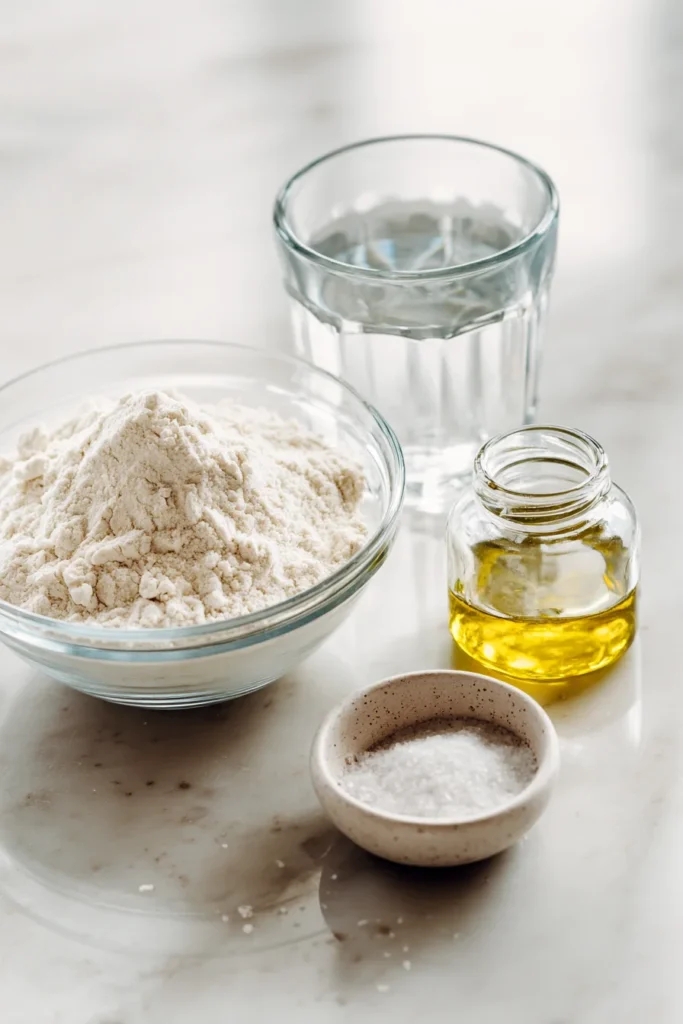
This bread proves that you don’t need fancy ingredients to make something special. All-purpose flour is your mainstay—it gives the loaf a soft, tender texture that’s perfect for sandwiches. Water hydrates and activates the gluten, while salt balances flavor and slows fermentation just enough to build structure.
A splash of olive oil is optional, but highly recommended. It softens the crumb and makes the crust more pliable. For those who love old-school techniques, you might also explore baking without yeast, like in this recipe for no-yeast dinner rolls. It’s a great reminder that bread doesn’t have to be complicated to be delicious.
The best part? You can prep the dough in under 20 minutes. No mixer required—just a bowl, a spoon, and your hands. Let time do the work while you go about your day.
Bake, Cool, and Slice Sourdough Bread the Smart Way
Oven Tips That Guarantee a Golden Crust
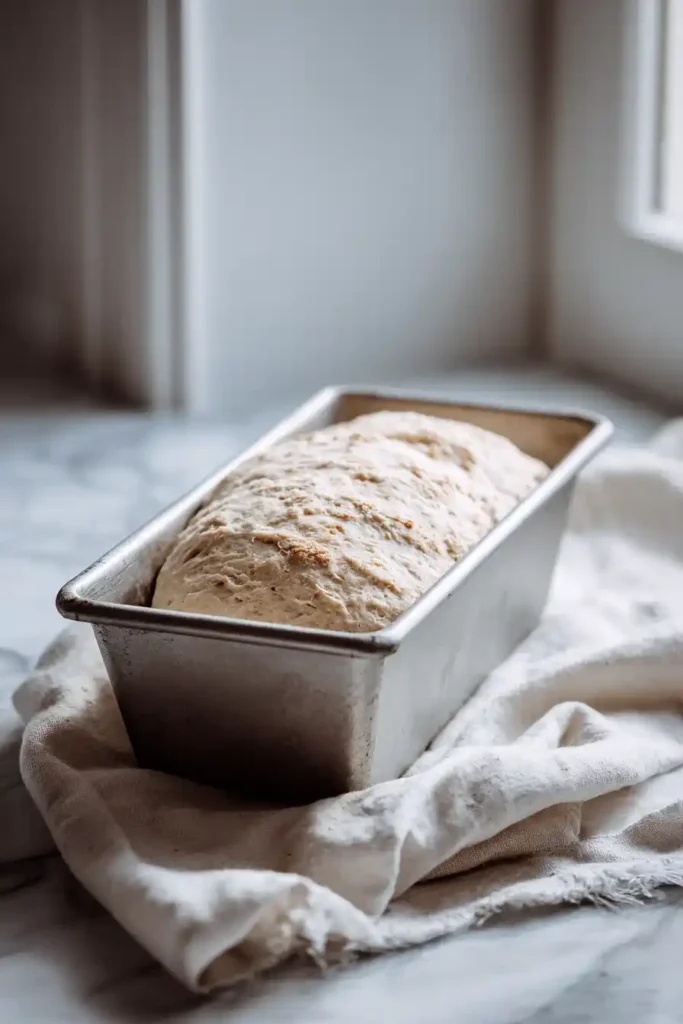
After shaping your dough and letting it proof until it’s just peeking over the rim of the loaf pan, it’s time to bake your sourdough sandwich bread. A hot, steady oven is key—preheat to 375°F (190°C) and give it a full 15 minutes before the loaf goes in.
If you want a slightly softer crust, lightly tent the loaf with foil halfway through baking. For a golden top and perfect rise, don’t under-proof. The dough should jiggle slightly and spring back slowly when pressed with a finger. Bake time usually ranges from 35 to 45 minutes.
You don’t need a Dutch oven for this bread. A standard loaf pan works beautifully. If you enjoy rustic bread recipes, you’ll appreciate this easy fry bread as a flexible and fun kitchen project, too.
Your loaf is done when it sounds hollow when tapped and has a golden, uniform top. For best results, insert a thermometer—look for an internal temp of 200°F (93°C).
Storage & Slicing Without the Soggy Middle

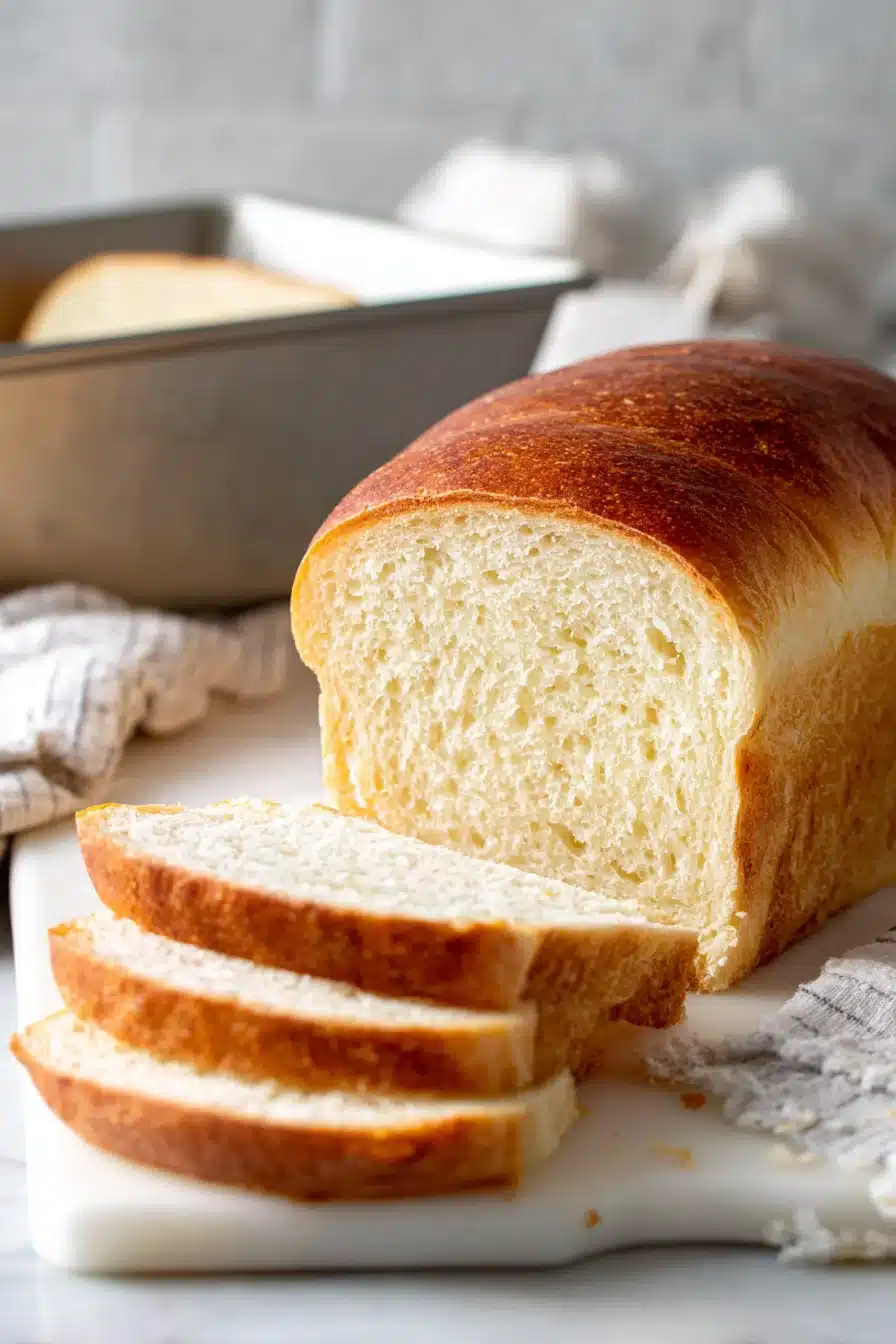
This part’s hard—but crucial: let your sourdough sandwich bread cool completely before slicing. Cutting too soon traps steam and turns your crumb gummy. Wait at least an hour, ideally longer.
Once cooled, use a serrated knife for clean slices. Want extra-thin slices for toast? Chill the loaf briefly in the fridge before cutting.
To store, wrap the bread in beeswax wrap or a clean towel. Keep it on the counter for up to three days, or freeze sliced bread in a zip bag with parchment between each slice for easy toasting.
When I batch bake, I love pairing this bread with easy meals like this creamy chicken and rice recipe. It’s the kind of dinner that feels homemade without the hustle.
Eat It All Week: Toasts, Sandwiches & More
My Favorite Everyday Combos
Once your sourdough sandwich bread is baked and cooled, the real fun begins—deciding what to do with it. This loaf isn’t just for sandwiches. It’s your new go-to for breakfast toast, melty grilled cheese, or even a quick butter-and-jam snack on the run.
One of my weekday favorites? A crispy pan-grilled turkey melt with sharp cheddar and Dijon on fresh sourdough sandwich bread. For breakfast, I go classic: a slice of toast with almond butter and sliced banana. It’s simple but filling, especially when paired with something like this vegetable barley soup.
And if you’re planning ahead for a weekend brunch, turn your sourdough sandwich bread into a rich French toast base. Its soft crumb absorbs custard like a dream. Round it out with something sweet like this apple coffee cake to complete the table.
Get Creative With Leftovers
Don’t toss those last few slices—this bread’s versatility continues long after day one. Cut leftover sourdough sandwich bread into cubes, toss them with olive oil and herbs, and bake into golden croutons. They’re perfect tossed onto salads or soup.
You can also tear it into chunks for a rustic bread pudding, both sweet or savory. I often make a cheesy strata with sautéed onions, breakfast sausage, and eggs. And yes, it freezes like a champ—wrap slices tightly with parchment between them and toast straight from the freezer for busy mornings.
Or go savory and hearty: use the bread as a base for open-faced melts or mini pizzas. You’ll never run out of ways to enjoy this loaf, especially when meals like chicken and rice or these quick chicken breakfast recipes are already part of your rotation.
Frequently Asked Questions About Sourdough Sandwich Bread
1. What makes sourdough sandwich bread different from rustic sourdough loaves?
Sourdough sandwich bread is soft, enriched, and shaped in a loaf pan for easy slicing. Unlike crusty artisan boules, it has a tender crumb and thin crust that’s perfect for sandwiches and toast.
2. How can I reduce the sour flavor in sourdough sandwich bread?
To create a milder loaf, feed your starter more often and reduce fermentation time. Using a younger starter and warmer proofing conditions also helps mellow the tang.
3. Do I need a Dutch oven to bake sourdough sandwich bread?
No. This type of bread is baked in a loaf pan, so a Dutch oven isn’t necessary. Just be sure to preheat your oven thoroughly and use a tent of foil for a softer crust if desired.
4. Why is my sourdough sandwich bread too dense?
A dense loaf usually means under-proofing or an inactive starter. Make sure your starter is bubbly and passes the float test. Let the dough fully double before baking and don’t skip bulk fermentation.
Conclusion
Sourdough sandwich bread has become a reliable rhythm in my kitchen. It’s soft, sliceable, and full of character—just the kind of comfort we all need during the week. Whether you toast it, layer it into a towering club, or dip it into soup, it’ll hold its own and keep you coming back.
I’d love to hear how your loaf turns out. Leave a comment or tag me if you bake it—and if you’re hunting for more ideas, don’t miss what I’ve shared on Pinterest for inspiration. You’ll find easy meal pairings and bread-based favorites to keep your table full.
Sourdough Sandwich Bread
Ingredients
- 100 g active sourdough starter
- 500 g all-purpose flour
- 300 g water
- 10 g salt
- 2 tbsp olive oil optional, for a softer crust
Instructions
- Feed your starter and let it become bubbly and active (it should double within 4-6 hours).
- In a large bowl, mix starter, flour, and water until no dry flour remains.
- Let the dough rest (autolyse) for 30 minutes, then mix in the salt and olive oil.
- Perform 3-4 stretch and folds over the next 2 hours, spaced 30 minutes apart.
- Let the dough rise until doubled, about 4-6 hours at room temperature.
- Shape the dough into a loaf and place in a greased loaf pan.
- Cover and proof until dough rises just above the rim, about 1-2 hours.
- Preheat oven to 375°F (190°C).
- Bake for 35-45 minutes, tenting with foil halfway through if desired.
- Cool completely on a wire rack before slicing.