Baking gluten-free sourdough bread at home is a fun adventure. It’s a special bread that’s safe for those with celiac disease. It uses wild yeast and bacteria, not commercial yeast.
Creating this bread takes patience and care. You only need four simple ingredients. The process makes a sourdough starter that adds amazing flavors and texture to your bread.
Key Takeaways
- Gluten-free sourdough bread uses wild fermentation techniques
- Only four ingredients are needed for a successful loaf
- Homemade bread allows complete control over ingredients
- Fermentation process enhances nutrition and digestibility
- Baking requires specific temperature and timing techniques
Understanding Gluten Free Sourdough Bread
Gluten-free sourdough bread is a new way to bake, perfect for those who can’t eat regular bread. It’s made differently, which makes it better for your gut and easier to digest.

Unique Characteristics of Gluten-Free Sourdough
Gluten-free sourdough is quite different from regular sourdough. Here’s why:
- It looks like brownie batter
- It proofs faster, in 1-2 hours
- It’s easier to work with the dough
- You need special gluten-free flour mixes
Digestibility and Gut Health Benefits
This bread is great for people with sensitive stomachs. Studies show it can help with digestion problems from regular wheat.
| Fermentation Aspect | Gluten-Free Sourdough Characteristics |
|---|---|
| Fermentation Time | 24-48 hours for optimal digestibility |
| Gluten Content | Less than 20 ppm when using gluten-free ingredients |
| Nutrient Absorption | Increased by breaking down phytic acid |
Science of Fermentation
The fermentation process changes gluten-free bread in good ways. Wild yeasts and bacteria work together to make it taste tangy and improve its nutrients.
By making your own gluten-free sourdough, you can add a healthy option to your diet. It’s good for your gut and satisfies your bread cravings.
Essential Ingredients for Perfect Gluten-Free Sourdough
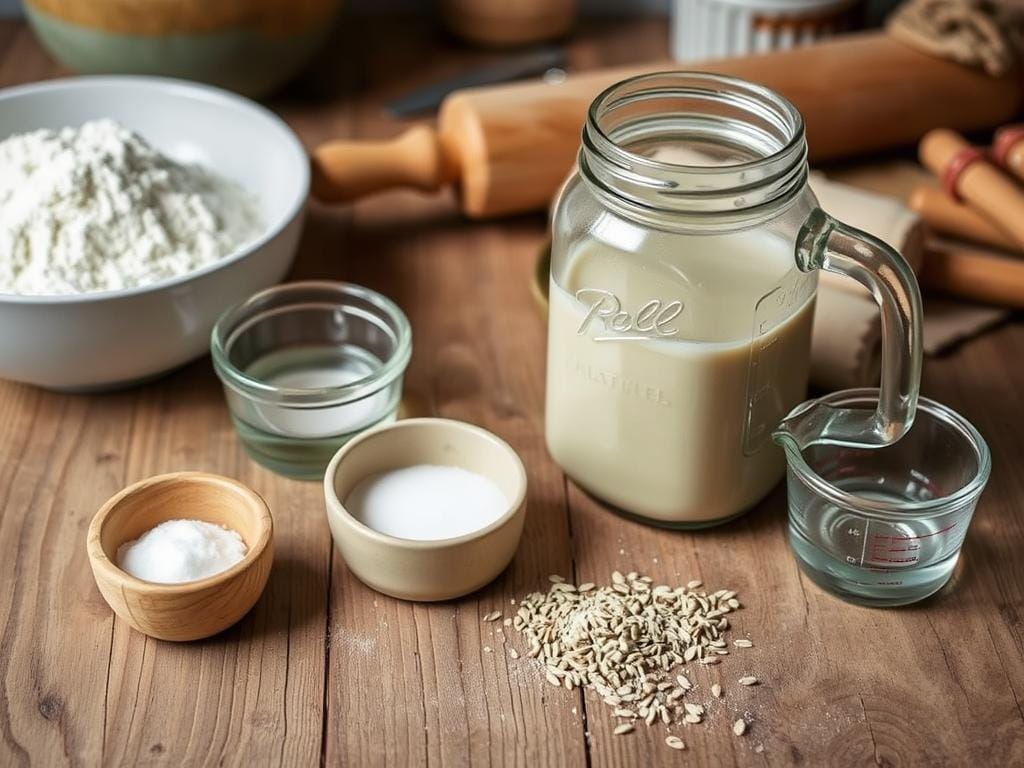
Making gluten-free sourdough bread is all about picking the right flours and grains. You need to know how each ingredient works together. This mix creates a bread that’s not only tasty but also healthy.

When looking for alternative flours, aim for a mix that’s both nutritious and has the right texture. Here are the main ingredients for your gluten-free sourdough journey:
- Brown rice flour
- Sorghum flour
- Millet flour
- Quinoa flour
- Potato starch
- Tapioca flour
- Arrowroot flour
Psyllium husk is a key player in gluten-free baking. It helps the bread hold together and improves its texture. This ingredient is like gluten, keeping your bread from falling apart.
| Flour Type | Nutritional Profile | Texture Contribution |
|---|---|---|
| Quinoa Flour | High protein | Slightly dense |
| Sorghum Flour | Rich in antioxidants | Light and smooth |
| Millet Flour | Mineral-rich | Soft and tender |
Working with ancient grains and flours needs precision. A digital kitchen scale is your best tool for measuring ingredients accurately. Gluten-free baking demands attention to detail and using high-quality, gluten-free ingredients.
Creating and Maintaining Your Gluten-Free Sourdough Starter
Creating a strong sourdough starter is key for gluten-free baking. It starts with knowing how gluten-free fermentation works.
Gluten-free starters need special care. They grow on grains like brown rice, sorghum, and teff. Your starter turns simple ingredients into a flavorful ecosystem.
How to Feed Your Starter
Feeding your starter is a precise process:
- Start with 50 grams of gluten-free flour and 60 grams of water
- On Day 2, reduce to 30 grams of flour and 40 grams of water
- Use room temperature, dechlorinated water
- Maintain a consistent feeding schedule
Signs of a Healthy Starter
Your starter shows its health in several ways:
- Visible bubbles forming
- Distinct sour smell
- Consistent growth after feeding
- Doubling in size by Day 7
Storage and Maintenance Tips
Storing your starter right is key. Here are some tips:
- Use a small jar to minimize waste
- Refrigerate to slow fermentation
- Feed every 7 days when refrigerated
- Feed every 12 hours at room temperature
Pro tip: Discard half the starter during feeding to maintain the ideal yeast-to-flour ratio. Your patience will be rewarded with a vibrant, active culture ready to transform your gluten-free baking adventures.
Choosing the Right Equipment and Tools
Starting your gluten-free sourdough bread journey needs the right tools. Artisan baking is all about precision and using specific tools. These tools turn your kitchen into a pro bread-making space.
Digital kitchen scales are key in artisan baking. Look for scales that:
- Read in 1-gram increments
- Accurately measure within ±2 grams
- Support high capacities up to 10 pounds
Here’s what you need for gluten-free sourdough baking:
| Tool | Purpose | Recommended Features |
|---|---|---|
| Digital Scale | Precise ingredient measurement | 1g increments, ±2g accuracy |
| Stand Mixer | Dough mixing | Handles up to 8kg dough |
| Dutch Oven | Baking with steam | 5+ quart capacity |
| Bread Lame | Scoring bread | Clean, controlled cuts |
| Banneton Basket | Proofing dough | Moisture-wicking material |
If you’re on a budget, there are options. A cast iron pot can be a Dutch oven substitute. Flexible bowl scrapers are great for dough. Tip: Elastic shower caps make excellent proofing covers!
Temperature control is key in artisan baking. Get an instant-read thermometer. It helps keep your starter and dough at 75°F to 85°F.
Quality tools make a big difference in your bread. Start with these basics and add more as you get better at artisan baking.
Step-by-Step Baking Process
Making the perfect gluten-free sourdough bread needs care and patience. Your journey starts with learning special techniques for gluten-free dough.
Mixing and Kneading Techniques
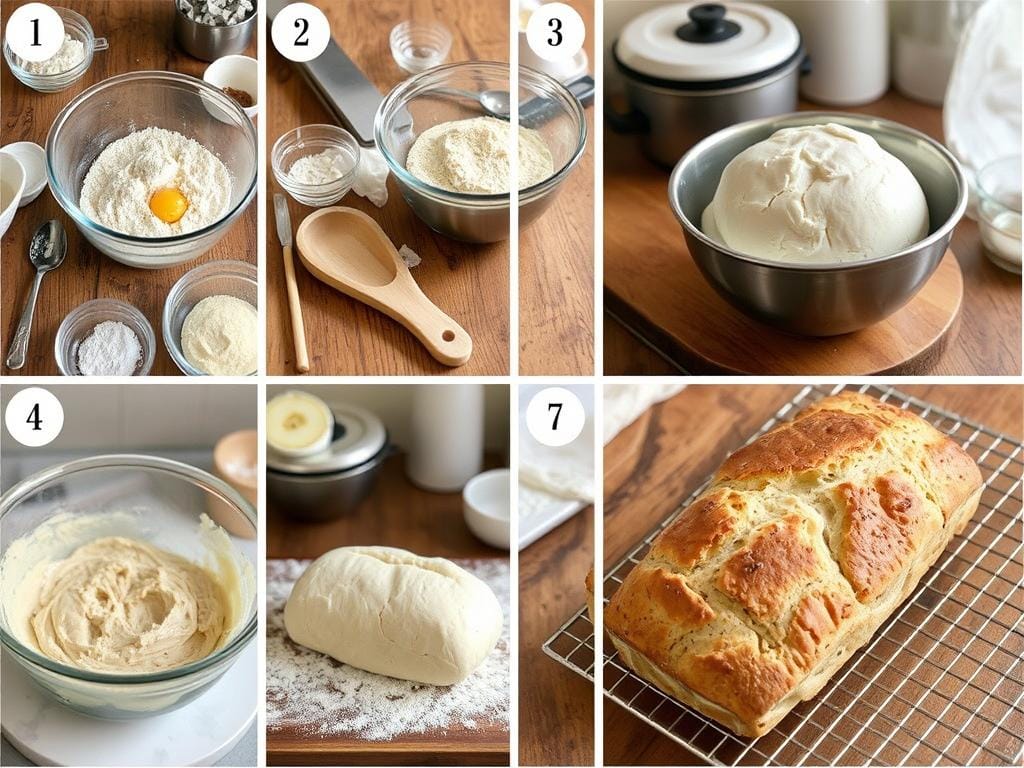
Gluten-free baking is different from regular baking. Start by using a digital kitchen scale for exact measurements. Mix all ingredients on medium-high speed for 5 minutes to get the right consistency.
- Use a stand mixer for consistent blending
- Incorporate psyllium husk for binding and elasticity
- Aim for a smooth, well-integrated dough texture
Fermentation and Proofing Times
The fermentation step is key in gluten-free sourdough. Your dough needs 3-4 hours of bulk fermentation at room temperature. Unlike regular sourdough, gluten-free starters might not triple in size but should show signs of life.
| Fermentation Stage | Duration | Key Observations |
|---|---|---|
| Bulk Fermentation | 3-4 hours | Visible air bubbles, slight rise |
| Overnight Refrigeration | 8-12 hours | Develops deeper flavor |
Baking Temperature and Duration
Getting the perfect gluten-free sourdough needs exact baking conditions. Preheat your Dutch oven to 500 degrees Fahrenheit for the best steam and rise.
- Bake with lid on: 40 minutes
- Bake with lid off: 20 minutes
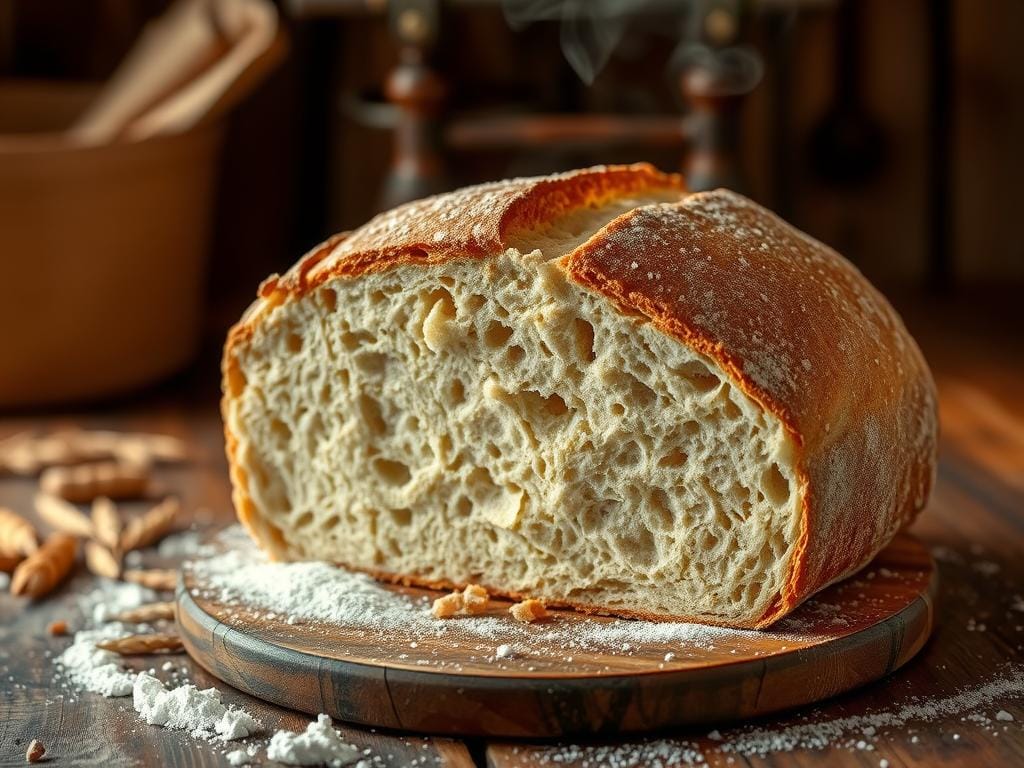
- Aim for a golden, crispy crust
Remember, baking is an art that needs practice. Every loaf will teach you something new about gluten-free sourdough techniques.
Troubleshooting Common Baking Issues
Gluten-free baking can be tricky, like making sourdough bread. Many bakers face problems that make their bread dense, gummy, or flat. Knowing these common issues can help you get better at gluten-free baking.
Common Gluten-Free Sourdough Challenges
- Dense Bread: Often caused by inaccurate ingredient measurement
- Lack of Rise: Typically results from weak starter or incorrect fermentation
- Gummy Texture: Frequently due to insufficient baking time
Understanding how different flours work together is key to gluten-free baking. Not all gluten-free flour mixes are the same. Some, like Authentic Foods Steve’s Gluten Free Bread Blend, work better with yeast than others.
Solving Specific Baking Problems
| Issue | Potential Cause | Solution |
|---|---|---|
| Sticky Dough | Excess Liquid | Add more gluten-free flour |
| Collapsed Bread | Over-proofed Yeast | Reduce proofing time |
| Uneven Crumb | Under Fermentation | Extend bulk fermentation |
Temperature is important in gluten-free sourdough baking. Yeast likes temperatures between 70-75°F. If it’s cooler, it takes longer to activate. Remember, making a good sourdough starter takes time—usually at least 5 days.
Pro tip for gluten-free baking: Always measure dry ingredients by weight for consistent results. Use a binding agent like xanthan gum to keep your bread together. With practice and attention to detail, you’ll make delicious gluten-free sourdough bread!
Storage and Serving Suggestions
Keeping your homemade gluten-free sourdough bread fresh is key. The right storage and handling can keep its taste and texture great for days.
Best Storage Methods
Storing your gluten-free sourdough bread right keeps it fresh. Here are the best ways to store it:
- Room temperature storage: Keep bread tightly wrapped in plastic wrap for up to 4 days
- Refrigeration: Not recommended as it can dry out the bread quickly
- Freezing: Slice bread before freezing for easy portioning
Reheating Tips
Bring back your gluten-free sourdough bread’s crispy crust and soft inside with these tips:
- Oven method: Preheat to 350°F and warm for 5-7 minutes
- Toaster: Use medium setting for a crisp exterior
- Avoid microwave, which can make bread rubbery
Serving Ideas
Try these creative ways to enjoy your gluten-free sourdough bread:
| Serving Suggestion | Pairing Ideas |
|---|---|
| Breakfast | Avocado spread, scrambled eggs |
| Lunch | Grilled vegetable sandwiches |
| Snack | Olive oil dip, herb spreads |
Remember, gluten-free sourdough bread tastes best when fresh. Store it carefully to keep its special tangy flavor and soft texture.
Conclusion
Making celiac-friendly bread is more than just cooking. It’s a journey that changes how you see food. You’ve learned about the magic of gluten-free sourdough bread. This knowledge lets you make bread that’s not only tasty but also good for your health.
Research shows that gluten-free sourdough bread can be amazing. You’ve found out how to mix ingredients like rice flour and pea protein. This creates bread that’s soft and full of flavor.
Now, you can try new things with gluten-free sourdough. You know how to use fermentation and pick the right ingredients. This means you’re not just baking. You’re making a special food that’s good for you.
Every loaf of bread you make is a part of your own story. Keep trying new things and learning. Your hard work turns simple ingredients into something amazing. This bread is not only healthy but also delicious.
FAQ
Is gluten-free sourdough bread completely gluten-free?
Yes, gluten-free sourdough can be safe for those with gluten issues. Use flours like rice or sorghum and ensure all ingredients are gluten-free. This way, it’s safe for those with celiac or gluten sensitivities.
How long does it take to create a gluten-free sourdough starter?
It takes 7-10 days to make a gluten-free sourdough starter. You need to feed it daily and watch for signs of fermentation. Regularly discarding and adding to the starter helps it grow strong.
Can I use regular sourdough techniques for gluten-free bread?
No, gluten-free sourdough needs different methods. You’ll need to use psyllium husk and adjust the water. The mixing and proofing steps are also different from traditional sourdough.
What alternative flours work best for gluten-free sourdough?
Brown rice, sorghum, millet, and buckwheat flours are great for gluten-free sourdough. Mixing them creates a bread that tastes like traditional sourdough.
How do I know if my gluten-free sourdough starter is healthy?
A healthy starter bubbles and smells tangy. It doubles in size in 4-8 hours after feeding. It should look active and have a spongy texture.
Can I freeze gluten-free sourdough bread?
Yes, you can freeze it. Wrap it in plastic and foil to prevent freezer burn. Thaw at room temperature and reheat to restore crispness. Eat within 1-2 months.
Why is my gluten-free sourdough bread dense or gummy?
It might be due to not enough water, under-proofing, or the wrong flour mix. Make sure to use the right flours and enough binding agents. Let it ferment and proof properly.
Is homemade gluten-free sourdough bread healthier than store-bought?
Homemade gluten-free sourdough is often healthier. You control the ingredients and use quality flours. Fermentation can make it more nutritious than many commercial options.
How often should I feed my gluten-free sourdough starter?
Feed it daily at room temperature. Once a week if it’s in the fridge. Use a 1:1:1 starter, flour, water ratio and keep it warm for best fermentation.
Can people with mild gluten sensitivity eat sourdough bread?
Some with mild sensitivities might do okay with sourdough. But those with celiac or severe intolerance should only eat certified gluten-free. Always check with a healthcare professional.

