
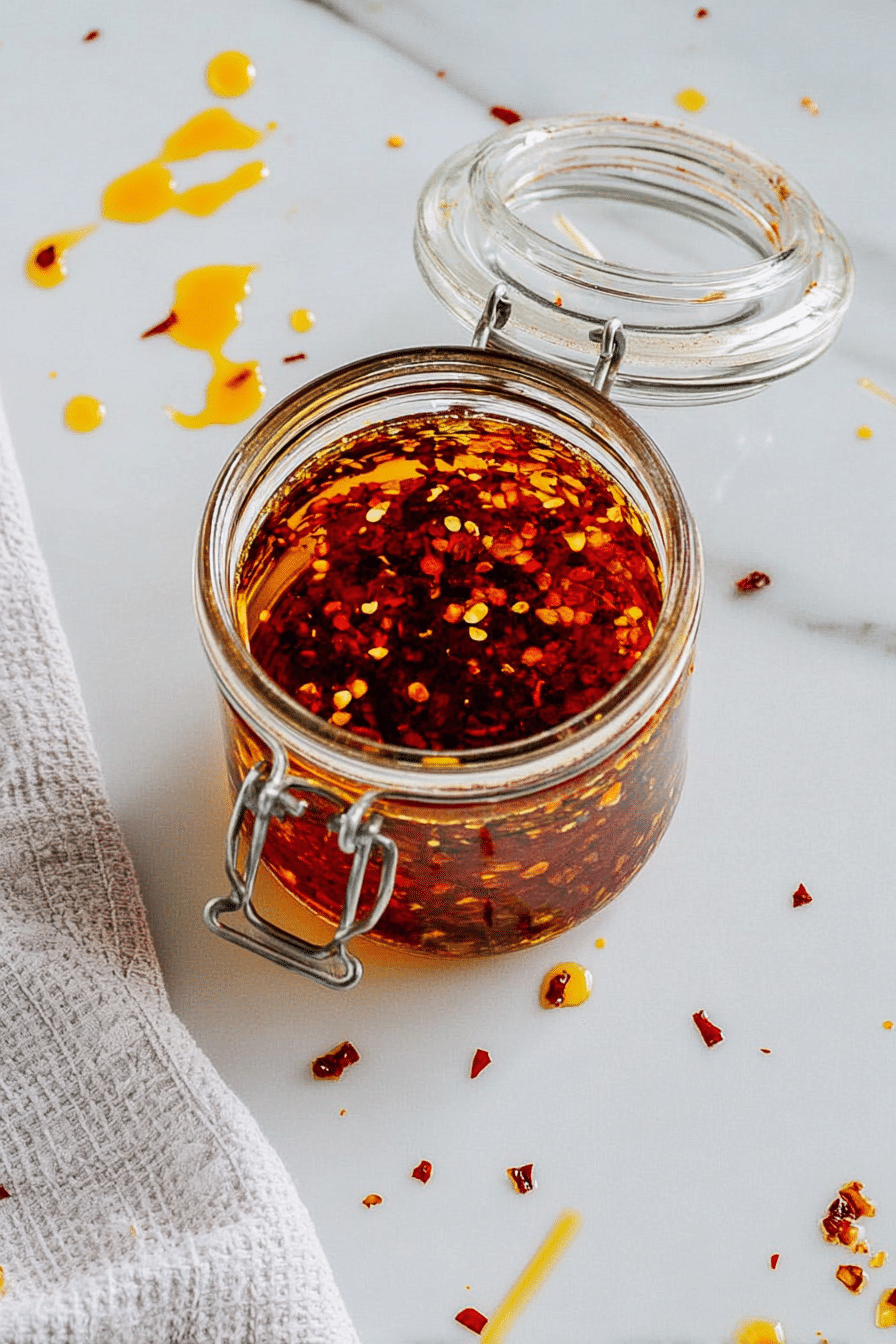
There’s something hypnotic about the sizzle of chili flakes meeting hot oil. The fiery aroma, the deep red swirl, and that first taste that tingles your tongue make chili oil irresistible. The best part? You can whip it up in just minutes right in your kitchen. Once you try this homemade version, you’ll keep a jar in your fridge for every noodle bowl, stir fry, or crispy dumpling craving that comes along
Table of Contents
Why You’ll Love This Chili Oil
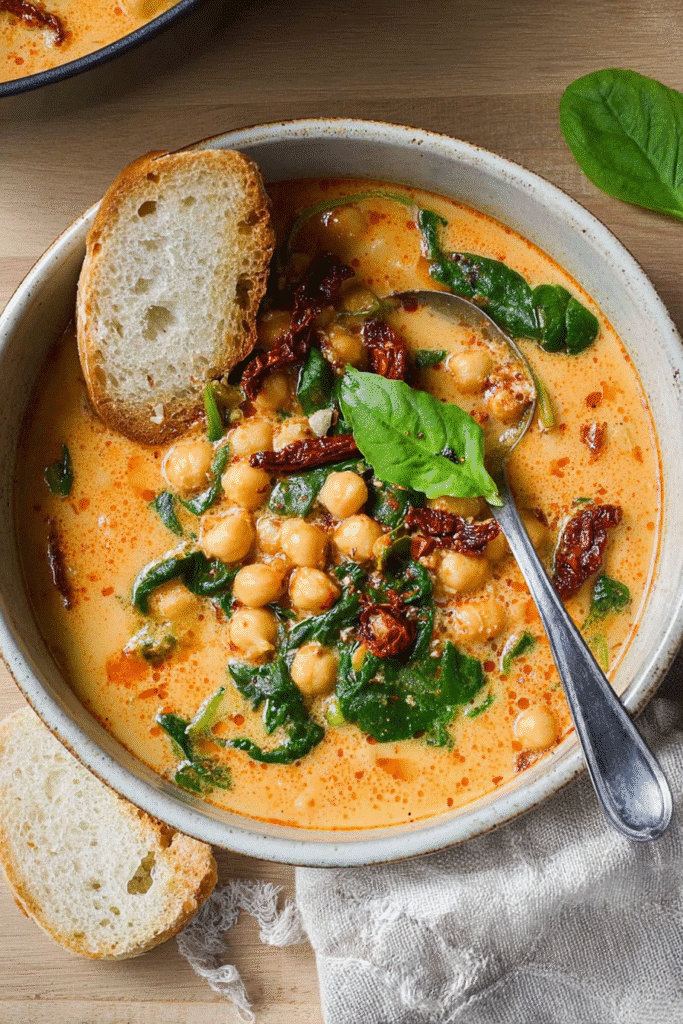
This little jar of magic takes less than 10 minutes to make and can transform plain rice or roasted veggies into a feast. It stays fresh in the fridge for months so you’ll always have it ready. You can choose exactly how spicy you like it, add more garlic if you’re obsessed, or toss in warm aromatics for a richer flavor. I love drizzling it over a hearty Tuscan chickpea soup on chilly nights. Trust me, you’ll find yourself reaching for it daily
What You Need To Make Chili Oil
Kitchen Tools
Small saucepan
Heat-proof bowl
Mason jar or any glass container
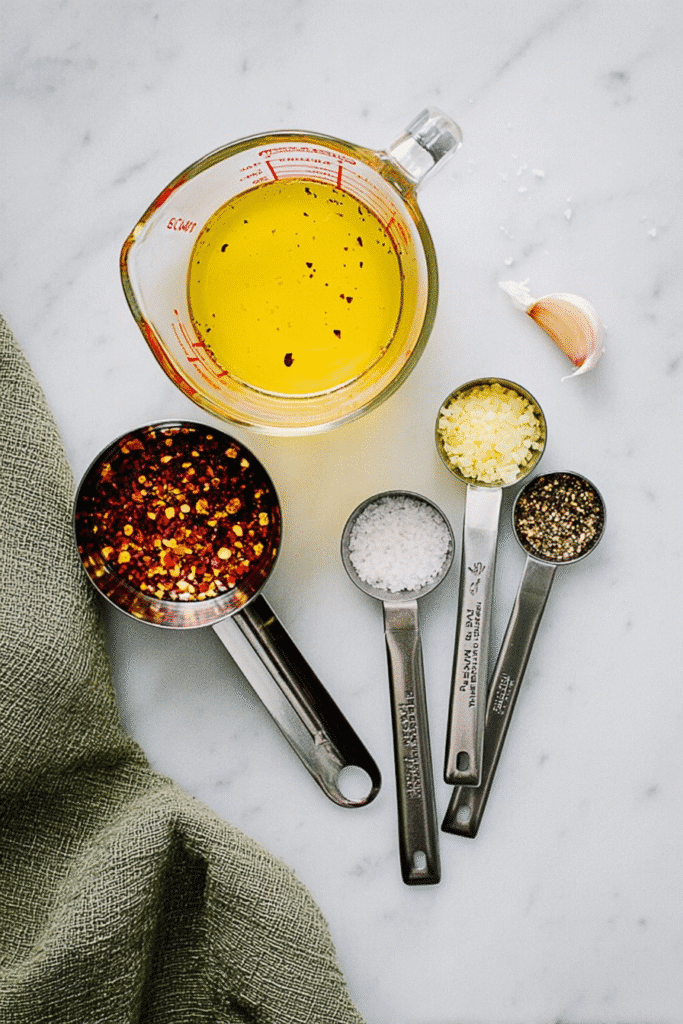
Ingredients
1 cup dried chili flakes (Thai for bold heat or red pepper flakes for milder spice)
3 garlic cloves, minced
1/8 teaspoon black pepper
2 teaspoons salt
2 cups avocado oil or olive oil
Optional Aromatics
Fresh ginger slices, onion, bay leaves, cinnamon, cloves
Extra flavor ideas: star anise, soy sauce, sesame seeds, brown sugar
Step-By-Step Chili Oil Recipe (Basic Version)
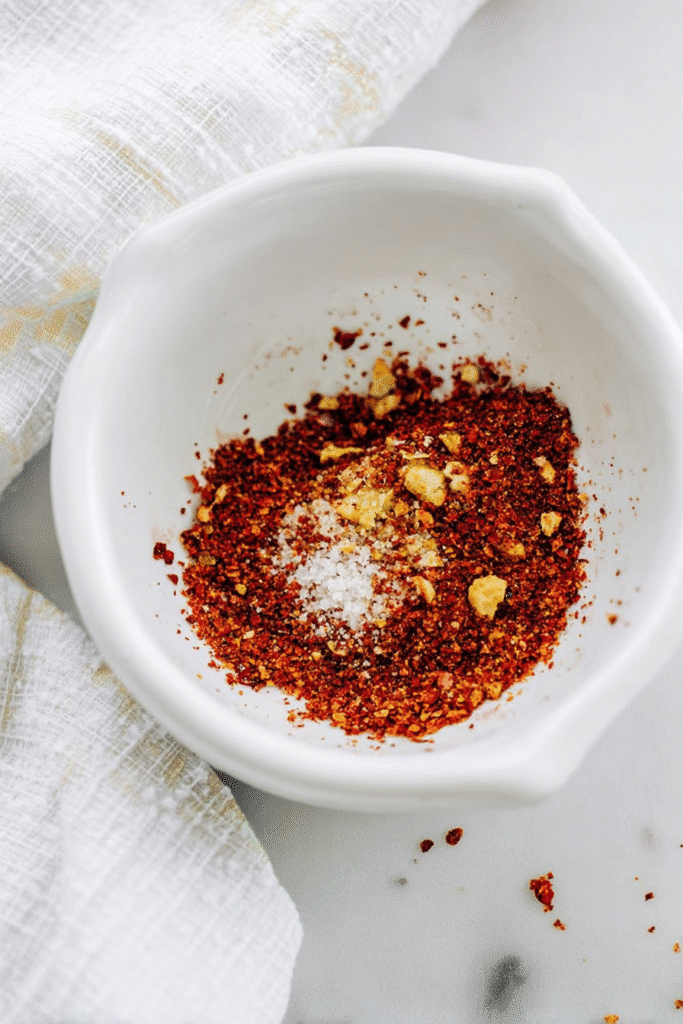
- Place the chili flakes, garlic, black pepper, and salt in a heat-proof bowl
- Warm the oil in a small saucepan over low to medium heat for 2–3 minutes, making sure it doesn’t boil
- Carefully pour the hot oil over the chili mixture and stir while it sizzles to keep it from burning
- Let it cool completely, then transfer to a jar with a tight lid
- Store in the fridge for up to 6 months and scoop it onto everything you love
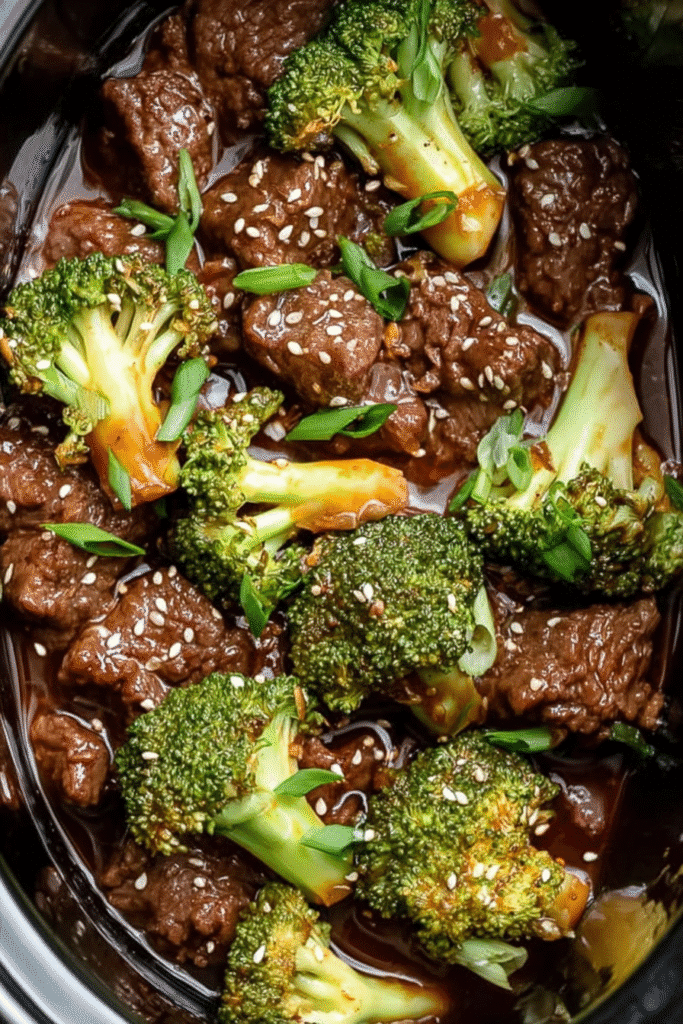
This quick version is perfect when you want bold heat fast. It’s amazing spooned onto slow cooker beef and broccoli for a restaurant-style finish at home
Aromatic Chili Oil (Infused Version)
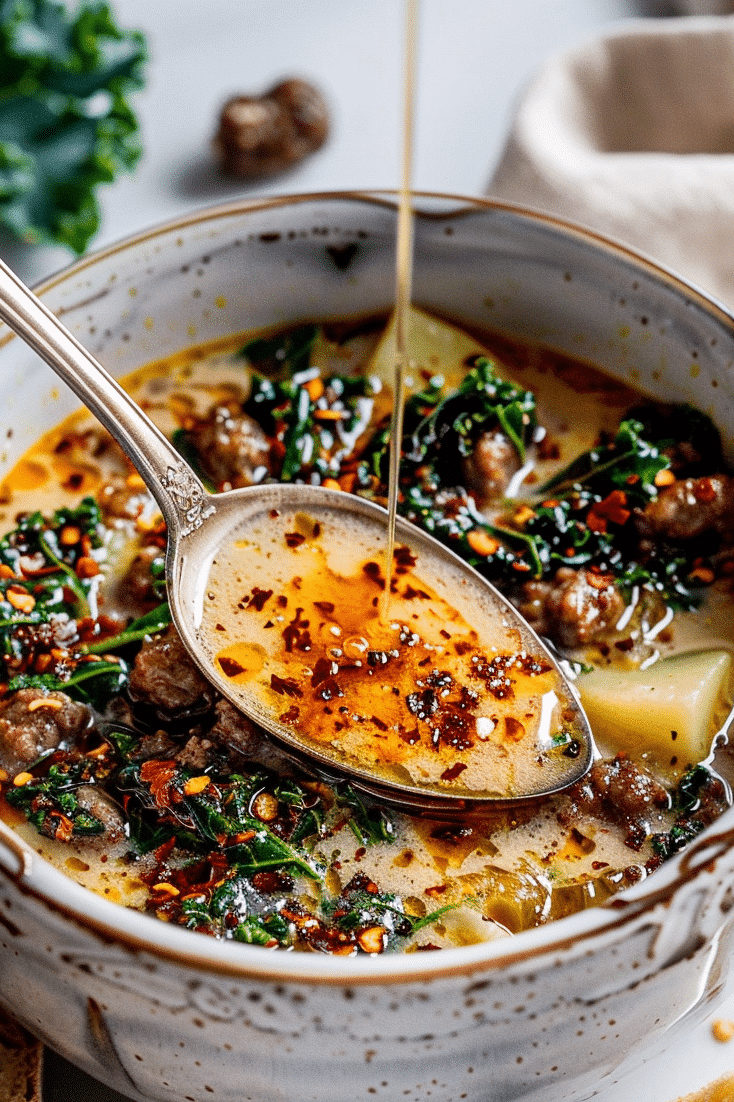
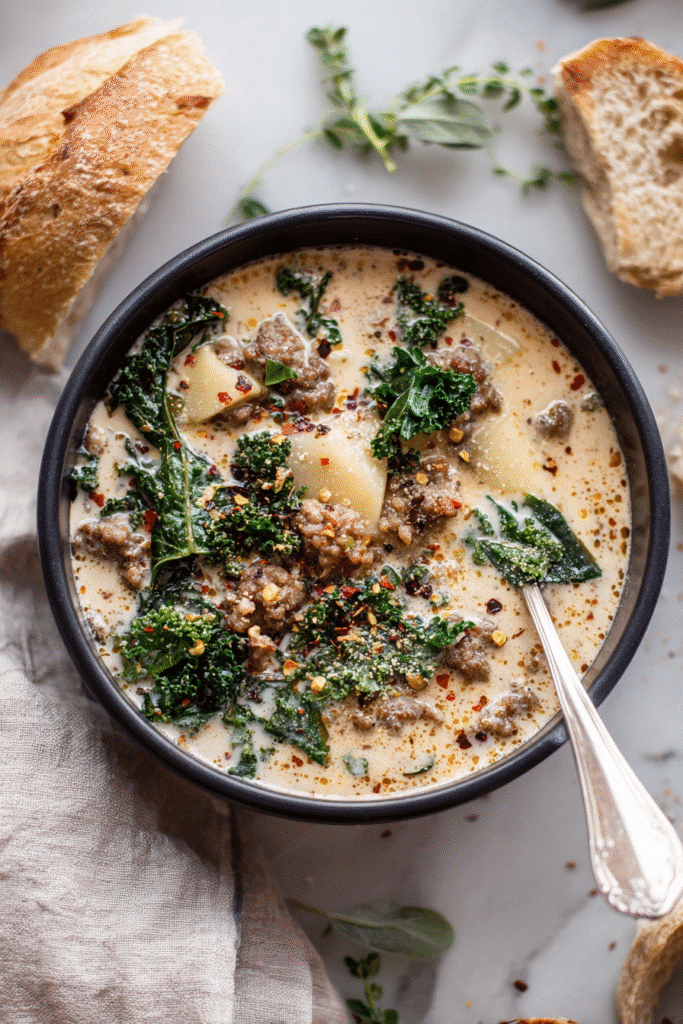
If you’ve got a little more time, simmering the oil with aromatics creates a deeply fragrant chili oil. Add sliced ginger, onion, bay leaves, cloves, and cinnamon to your saucepan of oil. Let it gently bubble for 20 to 30 minutes, stirring occasionally, until the scent fills your kitchen. Strain the hot oil through a sieve over your bowl of chili flakes and stir. Once cooled, jar it up and keep refrigerated. This version pairs beautifully with creamy soups like creamy white lasagna soup when you want a fiery twist on comfort food
How To Use Chili Oil
A drizzle of chili oil instantly transforms a bowl of noodles or rice. It’s delicious spooned onto pizza, tacos, or fried eggs. I love it as a dipping sauce for crispy rolls or poured over roasted vegetables. Try stirring it into a broth, tossing it with cucumbers, or letting it soak into warm bread. The options are endless, and each spoonful adds a kick of heat that makes every bite more exciting
Variations And Flavor Twists
For chili garlic oil, double up on the garlic. For sweet chili oil, stir in a spoonful of sugar before the oil cools. Want something more complex? Add Sichuan peppercorns for a tingling effect or swap part of the oil with sesame oil for a smoky depth. You can even mix in soy sauce for a salty punch or sprinkle sesame seeds for texture. Each version is a little different, but all are ridiculously good
Storage And Shelf Life
Keep your jar in the fridge and it will stay good for up to 6 months. On the counter, it’s best within 5 to 6 weeks. If the oil looks cloudy or develops a strange smell, it’s time to make a new batch. Always use clean spoons when dipping in to keep it fresh as long as possible

Chili Oil FAQ
Can I use chili powder instead of flakes
No, chili powder makes the oil grainy and flat. Flakes are the star of the show and give that signature look and flavor
What’s the best oil for chili oil
Neutral oils like avocado, light olive, peanut, or sunflower are perfect. They carry the heat and flavor without overpowering the chili. Avoid coconut oil or anything with a strong taste
Why did my chili oil turn cloudy
It probably got contaminated. Always use clean utensils to scoop it out. If it looks murky, toss it and whip up a fresh batch
Final Thoughts
Homemade chili oil is quick, customizable, and oh so satisfying. Whether you go for the speedy version or the aromatic slow infusion, each spoonful adds a vibrant kick to your meals. Make a jar today and tell me how you used it I bet it won’t last long in your fridge
Follow us on Pinterest for more cozy recipes, or join the fun on Facebook
Chili Oil
Ingredients
- 1 cup dried chili flakes Thai or red pepper flakes
- 3 garlic cloves minced
- 1/8 teaspoon black pepper
- 2 teaspoons salt
- 2 cups avocado oil or olive oil
- Optional aromatics: fresh ginger slices onion, bay leaves, cinnamon, cloves
- Extra flavor ideas: star anise soy sauce, sesame seeds, brown sugar
Instructions
- Place the chili flakes, garlic, black pepper, and salt in a heat-proof bowl.
- Warm the oil in a small saucepan over low to medium heat for 2–3 minutes, without boiling.
- Carefully pour the hot oil over the chili mixture and stir while it sizzles.
- Let it cool completely, then transfer to a jar with a tight lid.
- Store in the fridge for up to 6 months.
- For an aromatic version, simmer oil with ginger, onion, bay leaves, cloves, and cinnamon for 20–30 minutes. Strain the hot oil over the chili flakes and stir before storing.